
3D property capture
Captures from the field can be used to generate structured 3D models of a property. For roofing and exterior projects, Feldy uses jobsite photos to better understand the building’s shape, elevations, openings, rooflines, and exterior conditions. These captures support the creation of accurate roof and exterior measurement reports and the corresponding 3D property model.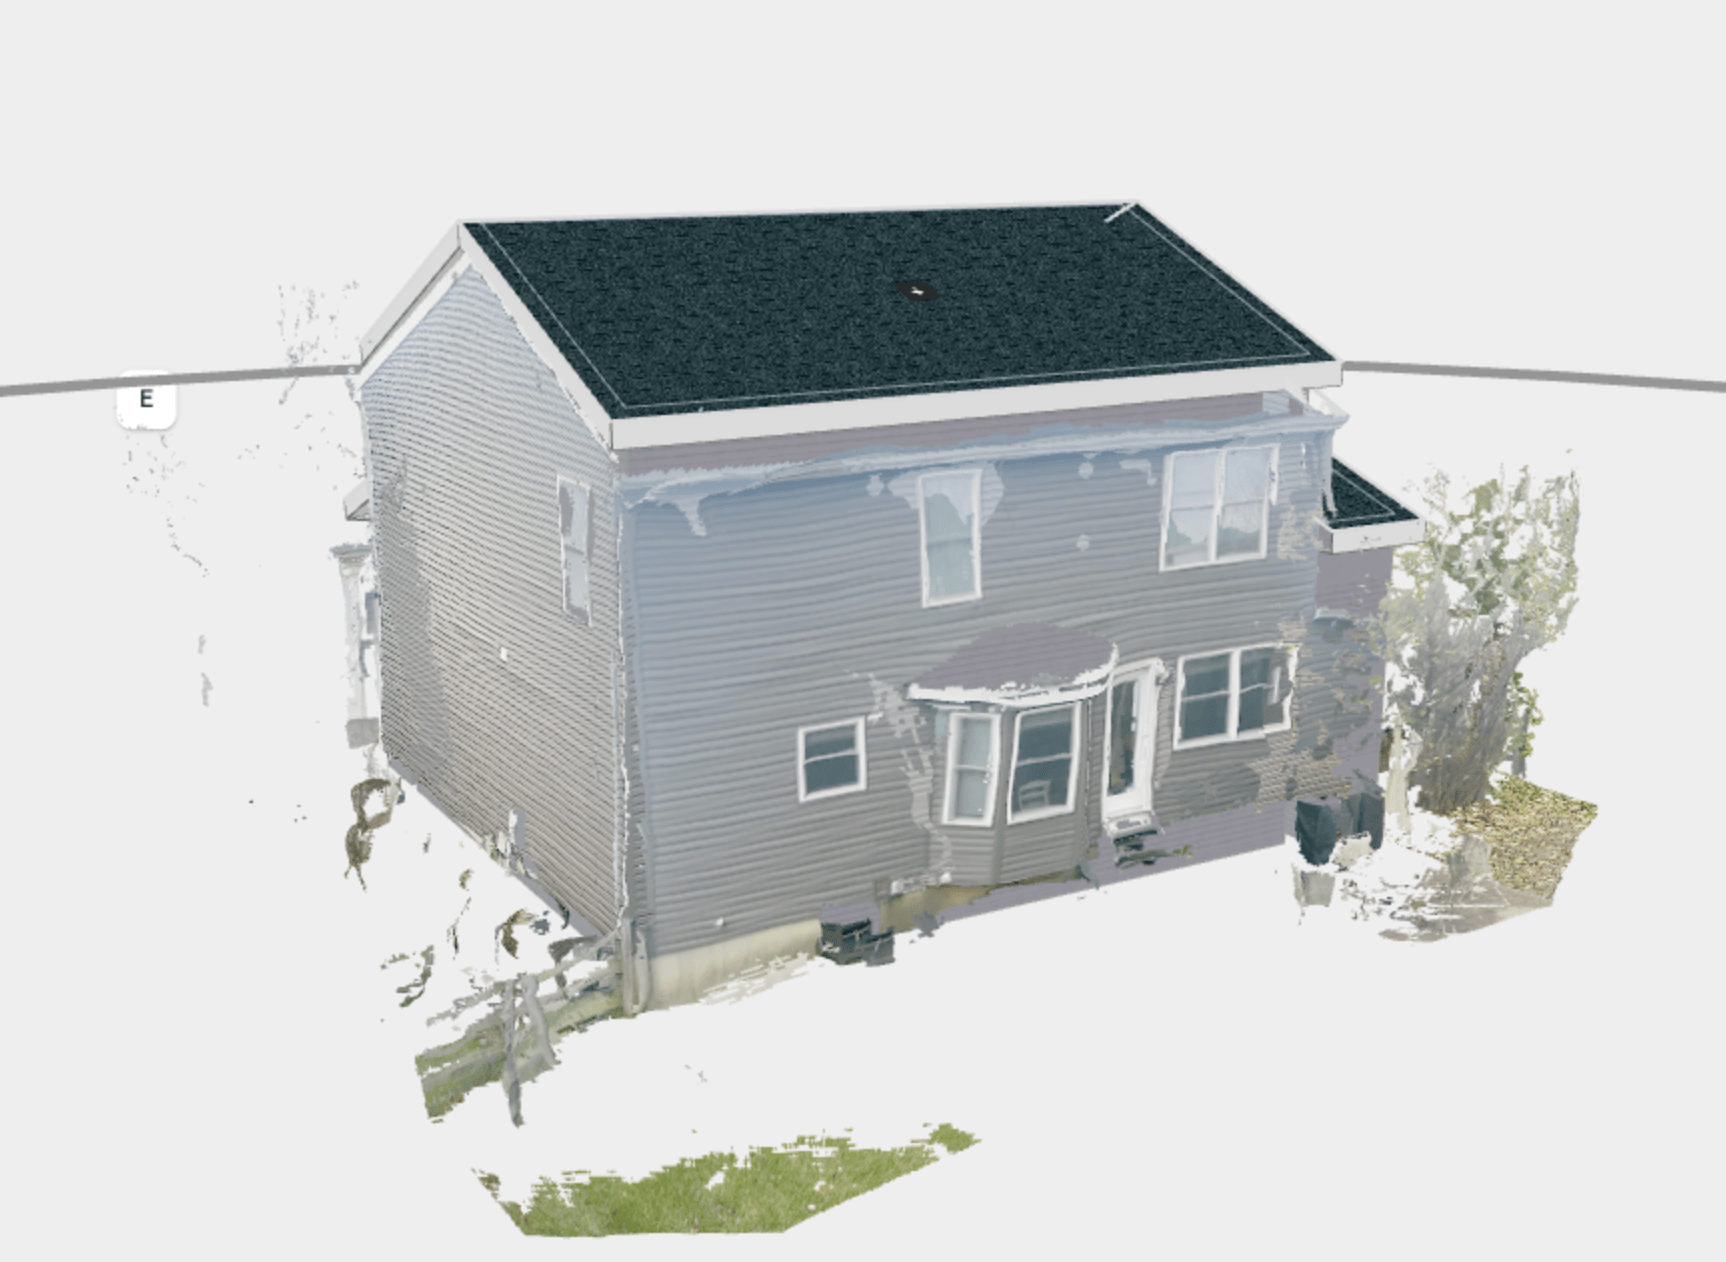
Exterior 3D models
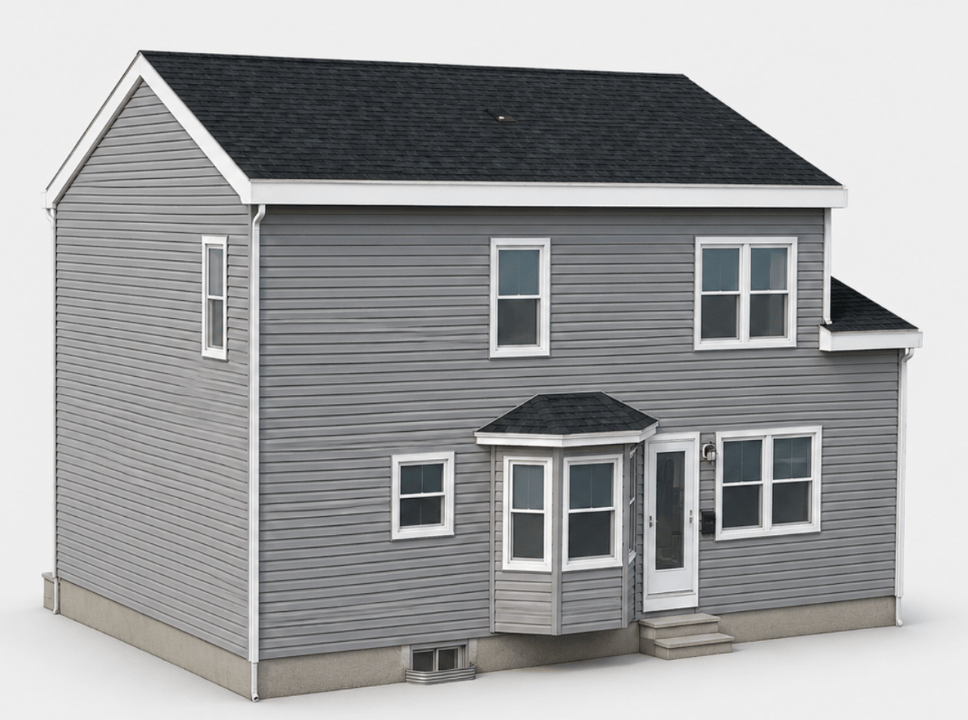
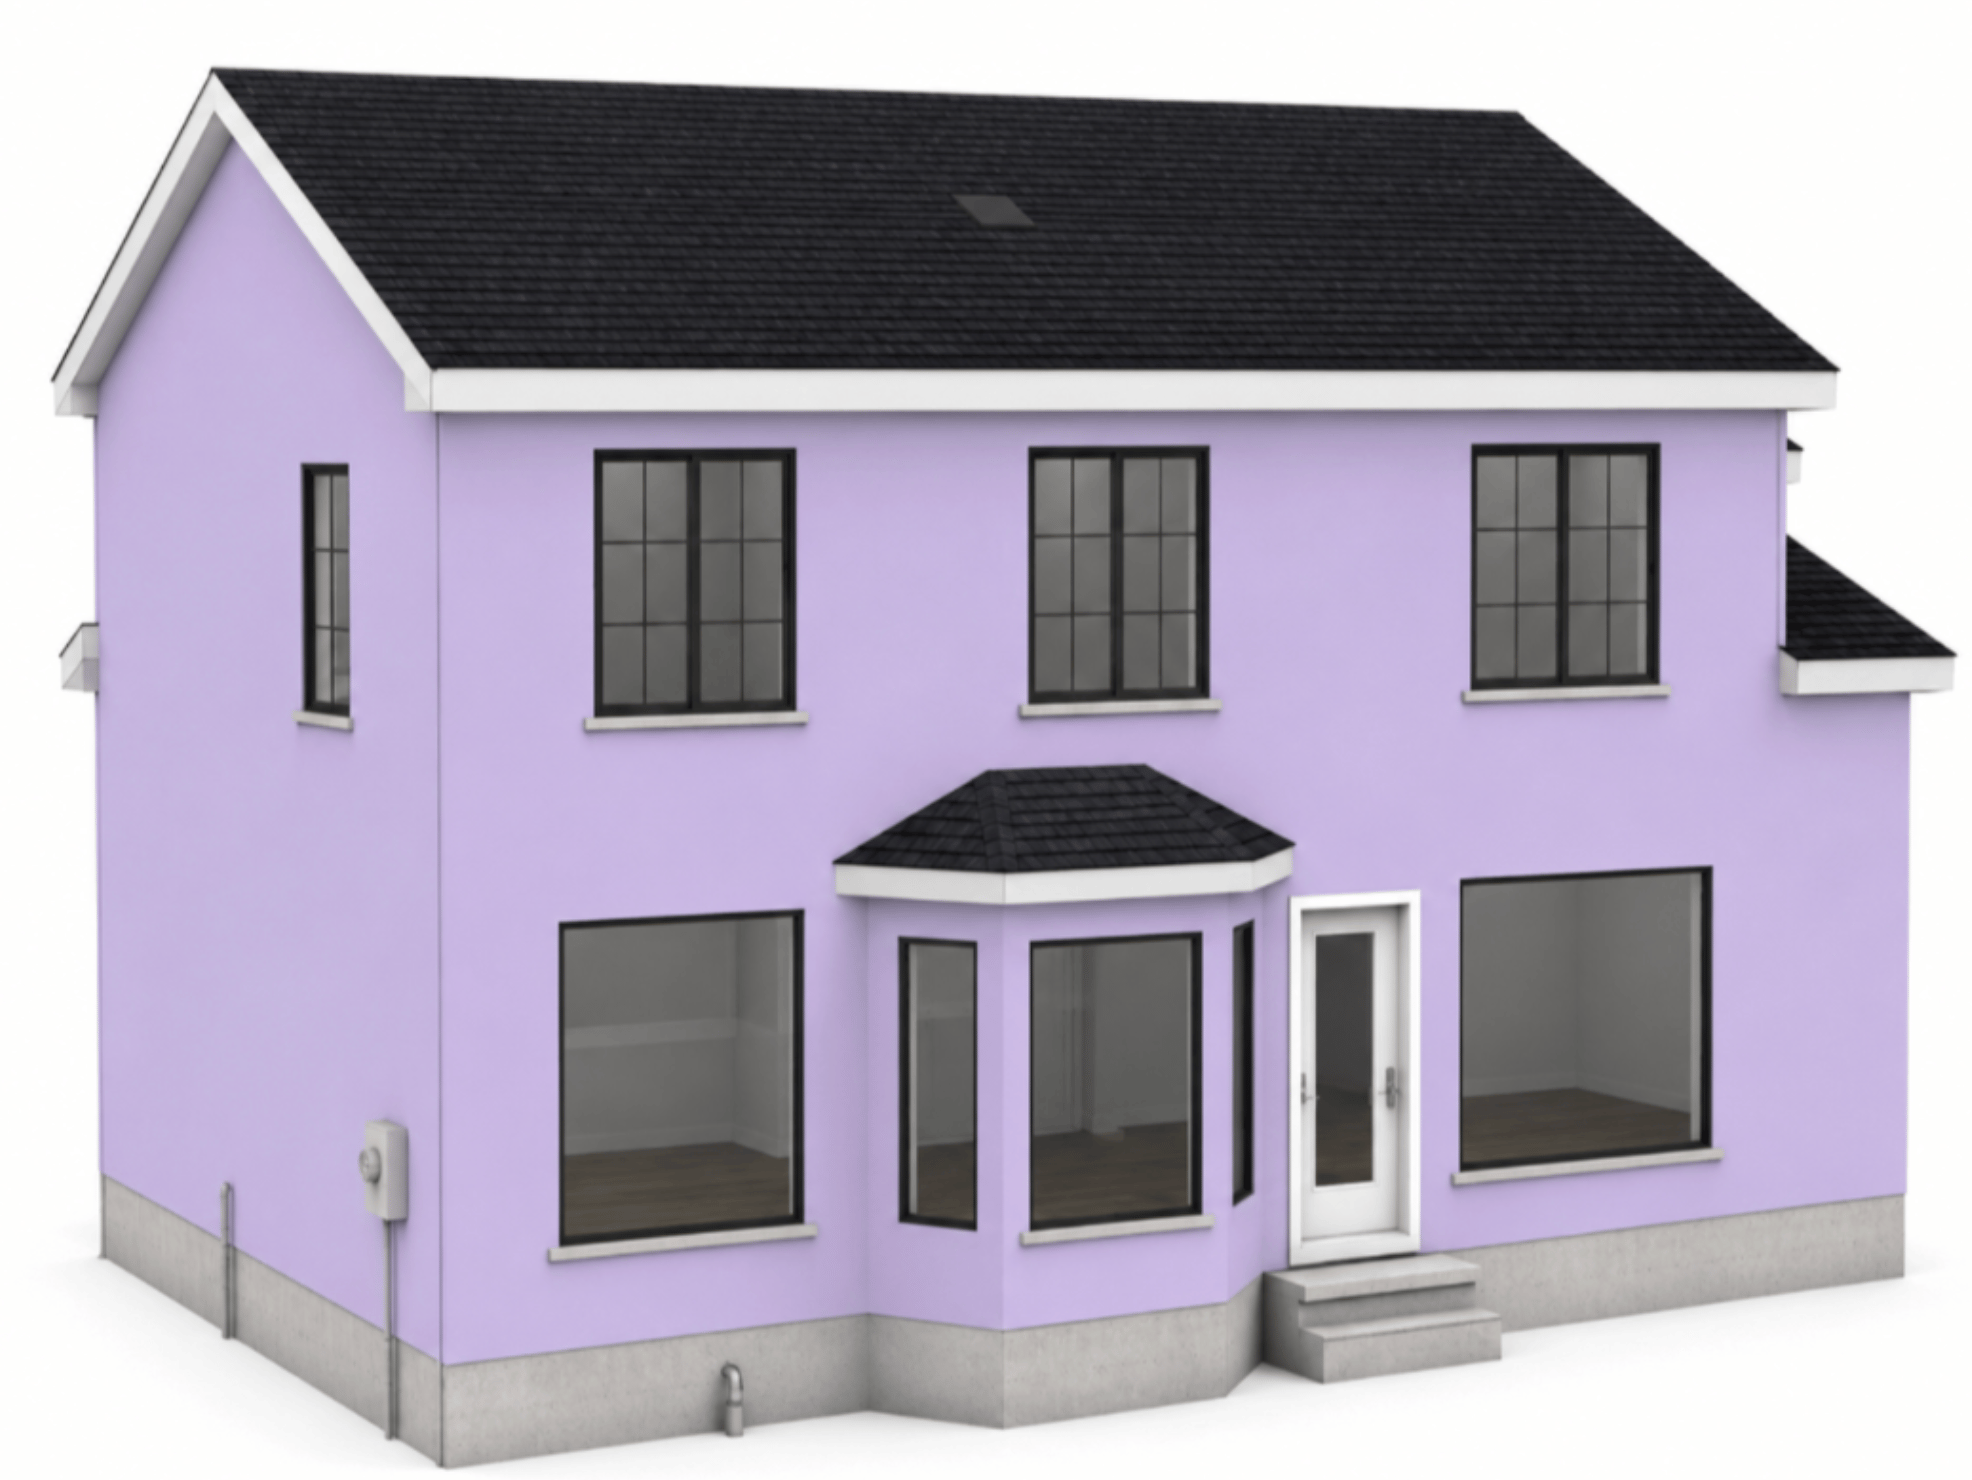
Exterior 3D models reconstruct the visible structure of the property from field captures. Depending on the report and project type, the model may represent:- Exterior walls and elevations
- Roof surfaces and rooflines
- Windows and doors
- Bay windows and exterior projections
- Foundation boundaries
- Attached structures
- Property geometry used for measurements
- Exterior measurements
- Roof measurements
- Material visualization
- Window and door replacement planning
- Siding and painting estimates
- Customer-facing design previews
Enable exterior features
When creating a project for roofing or exterior work, enable the appropriate feature. Available options may include:- Roofing
- Exterior
Capture the property from every angle
For the best exterior reconstruction, photograph the complete property from multiple viewpoints. Feldy may ask you to upload and assign photos representing views such as:- Front
- Front right
- Right side
- Right back
- Back
- Back left
- Left side
- Left front
Assign a view to each photo
After uploading the exterior photos, assign each one to the direction it represents. For example:- Select the photo taken directly in front of the property and label it Front.
- Select the photo taken from the front-right corner and label it Front Right.
- Continue until each required view has a corresponding image.
Exterior photo guidelines
For the strongest results:- Capture the property from all available sides
- Take wide photos showing the complete elevation
- Include the roofline and foundation
- Stand far enough away to reduce distortion
- Keep the camera level
- Use clear, well-lit images
- Avoid blurry or heavily zoomed photos
- Capture building corners from diagonal angles
- Include attached garages, additions, and exterior projections
- Take additional photos where trees or neighboring structures block the view
Use project photos when ordering measurements
Roofing and exterior organizations can attach jobsite photos when ordering a measurement report. The selected captures give the measurement team additional property context and help Feldy build a more accurate roof or exterior 3D model. When creating the order, you can:- Choose which structures should be included.
- Add notes about the property or requested scope.
- Select relevant project photos.
- Add additional report recipients.
- Submit the measurement order.
Choose the structures to include
When ordering a measurement report, specify which property structures should be measured. Available options may include:Primary structure only
Includes the main building identified for the project.All structures on the parcel
Includes additional structures located on the same parcel and associated with the property.All structures on the property
May include sheds, barns, detached garages, and other visible structures.Other
Use this option when the structures require additional explanation. Describe what should be included in the order notes. Clear instructions help prevent unrelated structures from being included in the report.Select relevant photos
Attach photos that help explain the building and requested report. Useful photos include:- Full exterior elevations
- Rooflines and roof transitions
- Dormers and additions
- Attached and detached garages
- Low-slope roof sections
- Areas hidden by trees
- Complex building connections
- Damage or unusual property conditions
- Structures that should be included or excluded
Why field captures improve the model
Aerial or property imagery may not clearly show every elevation, roof transition, opening, or attached structure. Field photos provide details that may otherwise be difficult to identify, including:- Wall and roof connections
- Hidden elevations
- Bay windows and projections
- Building additions
- Changes in siding or wall depth
- Doors and windows
- Roof edges obscured by trees
- Detached structures
- Unusual property geometry
Review the generated 3D model
After processing, the resulting 3D model can be opened from the associated measurement report. Review the model and confirm that:- The primary structure is represented
- Required elevations are included
- Roof surfaces appear complete
- Windows and doors are in the expected locations
- Attached structures are present
- Unrelated structures were not included
- The model reasonably matches the captured property
From capture to structured model
The workflow moves through three stages:1. Field capture
The user photographs the property from the required exterior views.2. Property reconstruction
Feldy uses the captures to understand the visible building geometry and reconstruct the property in 3D.3. Structured output
The reconstructed property becomes a cleaner model that can support:- Roof and exterior measurements
- Estimating
- 3D viewing
- Product visualization
- Proposed exterior changes
- Customer presentations